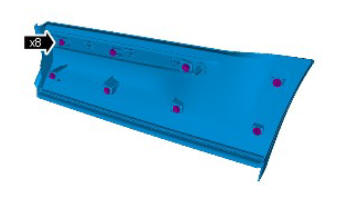
Land Rover Discovery: Body Closures Power Liftgate Switch (G1889733) / Removal and Installation
REMOVAL
NOTE:
Removal steps in this procedure may contain installation details.
CAUTION:
Make sure to protect the paintwork.
NOTE:
Make sure only a suitable plastic tool is used.
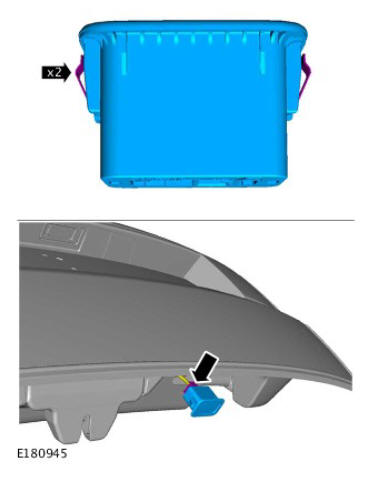
INSTALLATION
- To install, reverse the removal procedure.
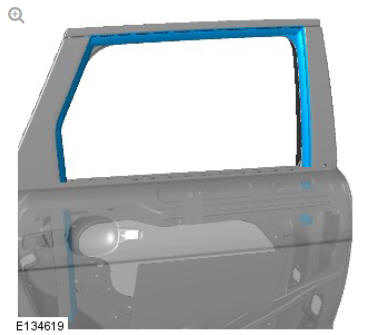
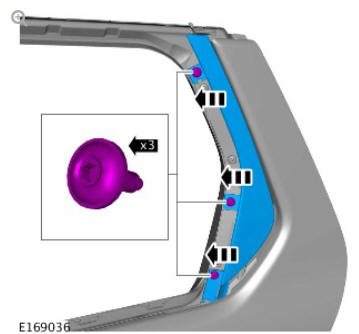
Body closures rear door (G1785718) removal and installation
REMOVAL
NOTE:
Removal steps in this procedure may contain installation details.
- Disconnect the battery ground cable.
Refer to: Specifications (414-01, Specifications).
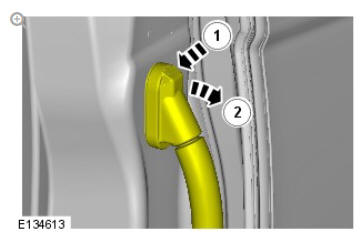
CAUTION:
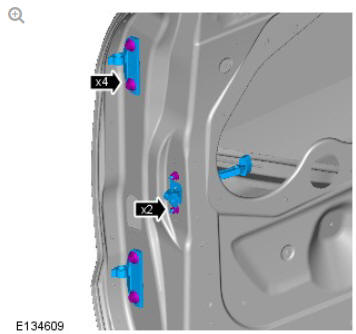
Make sure the upper and lower hinge bolts are replaced.
NOTES:
- Do not disassemble further if the component is removed for access only.
- This step requires the aid of another technician.
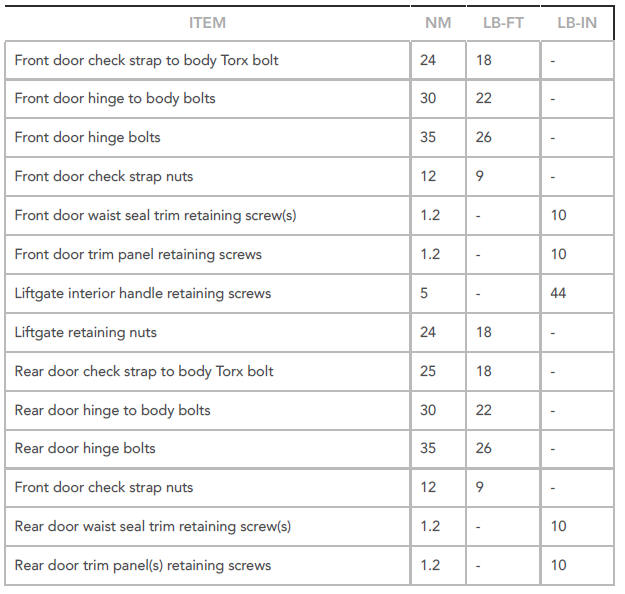
Torque:
Torx 25 Nm
Bolt 30 Nm
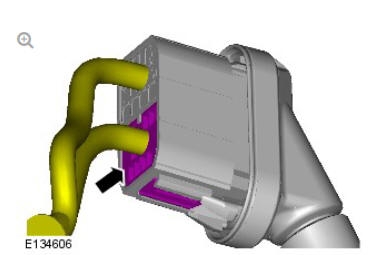
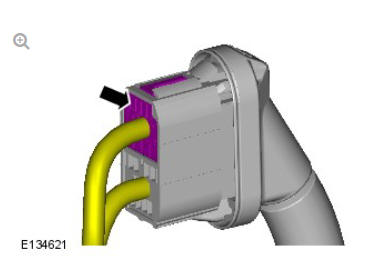
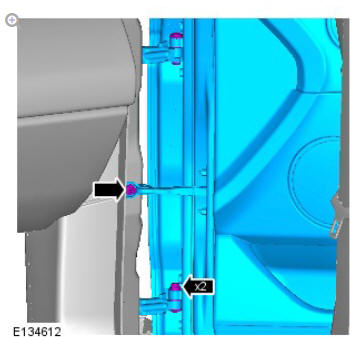
Refer to: Rear Door Window Regulator and Motor (501-11, Removal and Installation).
Refer to: Rear Door Latch (501-14, Removal and Installation).
Torque:
Bolt 35 Nm
Nut 12 Nm
CAUTION:
Take extra care not to damage the wiring harnesses.
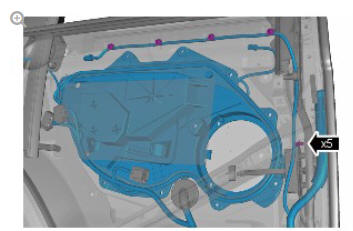

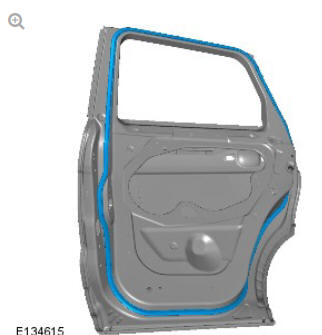
Torque: 5 Nm
INSTALLATION
- To install, reverse the removal procedure.
Body closures specifications
Torque Specifications
READ NEXT:
 Vehicle Specific Information and
Tolerance Checks
Vehicle Specific Information and
Tolerance Checks
FRONT END BODY DIMENSIONS
NOTES:
All dimensions shown are in millimetres (mm).
Dimensions shown to holes, are always taken from/to the hole
centre. They are also always to the body panel surface,
Vehicle Specific Information and
Tolerance Checks
Tailgate Alignment
ADJUSTMENT
NOTE:
Some variation in the illustrations may occur, but the essential
information is always correct.
With the liftgate closed, check the alignment of the liftgate to the
roof panel and b
SEE MORE:
Rear Differential
Rear Differential Section View
Active on-demand coupling
Pinion shaft
Taper roller bearings
Pinion gear
Side gear - right halfshaft
Pinion gear
Crosspin shaft
Differential carrier
Angular contact ball bearings
Side gear - left halfshaft
Crown wheel drive gear
Collapsible spacer
Activ
Vehicle Recovery
WARNINGS:
Vehicles should only be recovered on a trailer
If the vehicle is to be recovered from "off-road" conditions it
can be
towed at 10 Kp/h - 25 Km.
Use extreme caution when moving or towing the vehicle. Serious
injury or death may occur.
CAUTIONS:
The following procedures must be fo
