Land Rover Discovery: DVD Map updates
Vehicles equipped with the 'remote' Navigation Control Module (NCM) are supplied with either a DVD or SD memory card map update which is loaded into and left in the NCM. Map data is read directly from the DVD or SD memory card. This update can be performed by the customer
EXTERNAL HARD DISC DRIVE SERVICE TOOL MAP UPDATES
Discovery 4, Discovery Sport, Range Rover Sport and Range Rover vehicles, equipped with a hard disc drive integrated into the Integrated Audio Module (IAM) or vehicles fitted with the Audio Head Unit (AHU), are updated at point of service. On 10MY Range Rover models the hard disc drive is integrated into the Touch Screen (TS). Dealers are supplied with a set of master pack map update DVD's which are loaded onto the dealer Jaguar/Land Rover approved diagnostic equipment. The map data is loaded from the diagnostic equipment onto the navigation tool hard disc drive. The map data is then loaded to the hard disc drive from the navigation tool hard drive.
The following process should be used to update the map data:
NOTE:
The navigation update tool does not need the map data loading every time. This is only necessary when a new map update DVD is released.
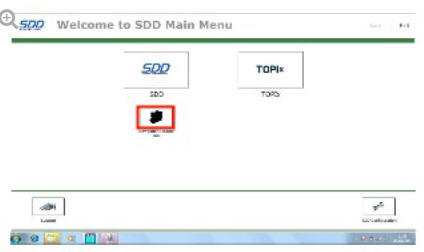
- Using the approved Jaguar/Land Rover diagnostic equipment select the navigation update tool.
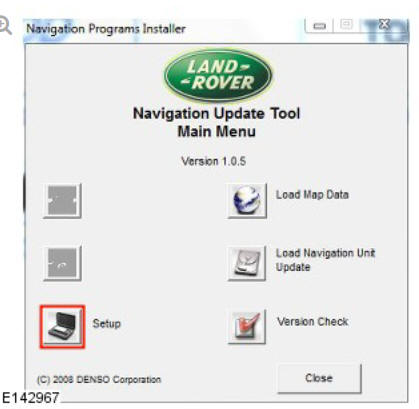
- Select Setup on the navigation update tool.
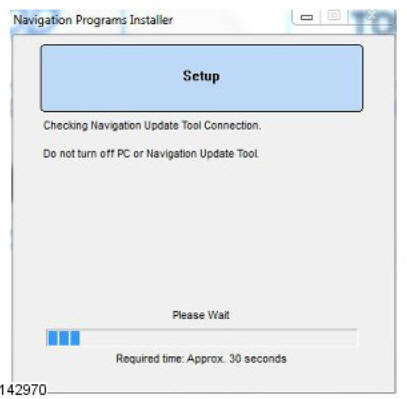
- Connect the navigation update tool to the Jaguar/Land Rover approved diagnostic equipment using the USB cable and select Continue to proceed.

- The navigation update tool will check the connection.
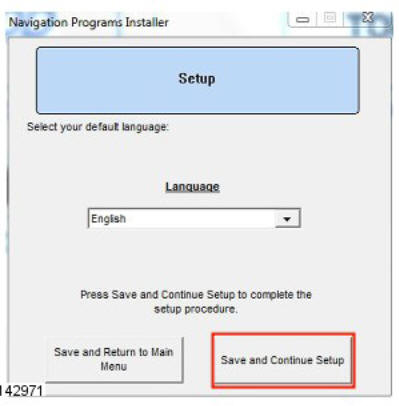
- Select your preferred language from the drop down menu then select Save and Continue Setup to proceed.
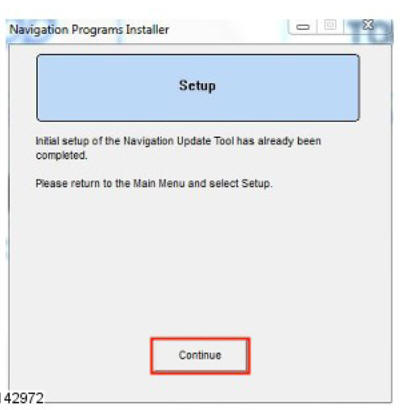
- When the navigation update tool confirms the initial setup is complete, select Continue to proceed.
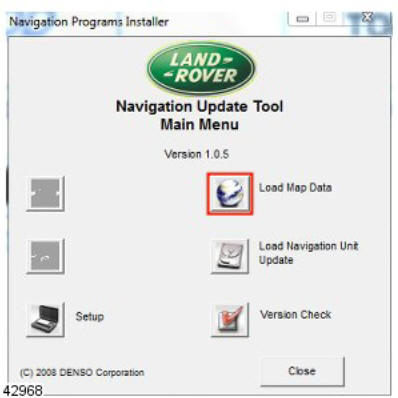
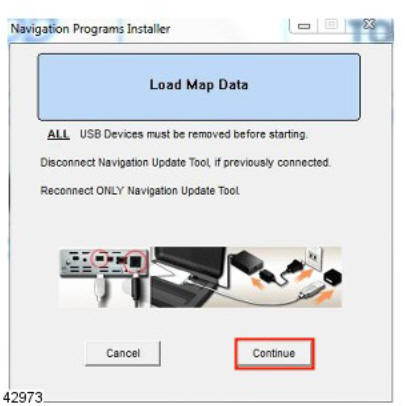
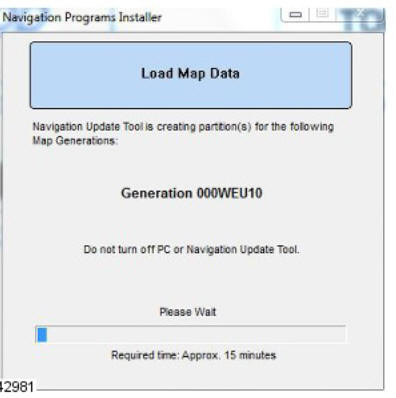
- The navigation update tool will return to the main menu screen, select Load Map Data to proceed.
- Disconnect, then reconnect the USB cable connecting the navigation update tool to the Jaguar/Land Rover approved diagnostic equipment, select Continue to proceed.
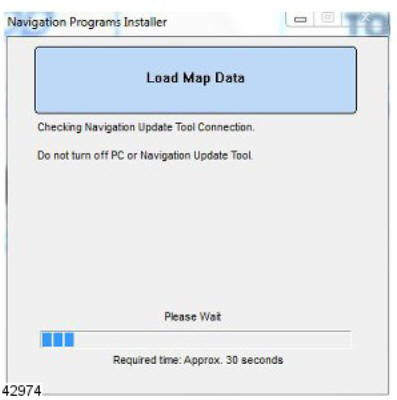
- The navigation update tool will check the connection.
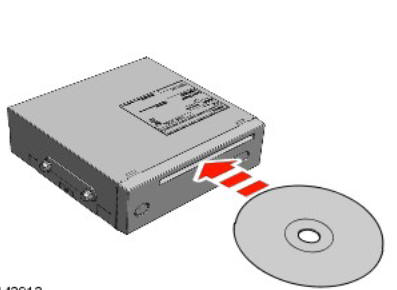
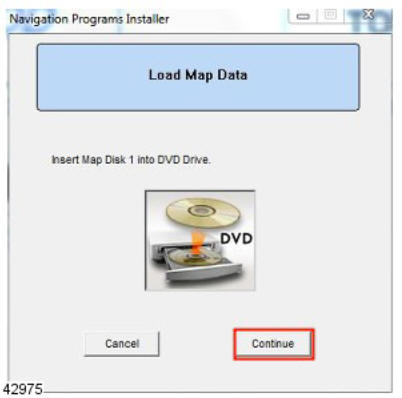
- Insert map update disk 1 into the DVD drive of the Jaguar/Land Rover approved diagnostic equipment and select Continue to proceed.
- The navigation update tool will read the map data.
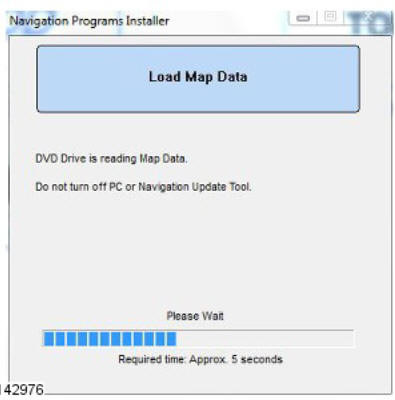
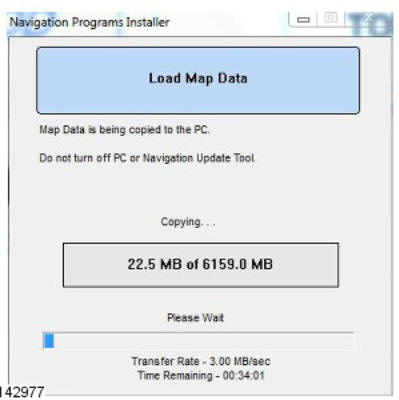
- Map data will be copied from disk 1 to the Jaguar/Land Rover approved diagnostic equipment.
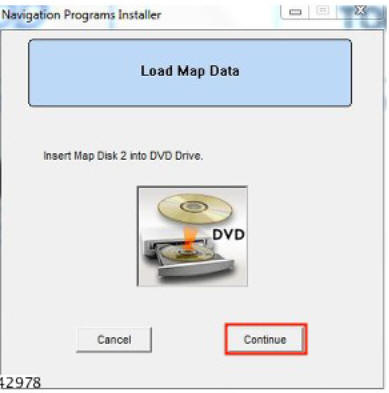
- Insert map update disk 2 into the DVD drive and press Continue to proceed.
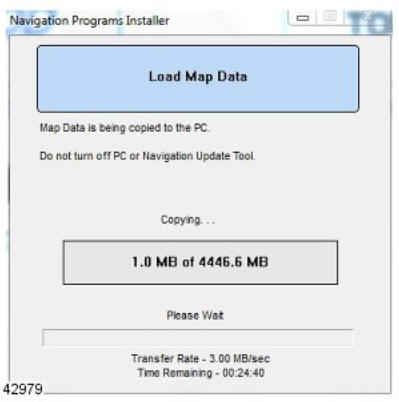
- Map data will be copied from disk 2 to the Jaguar/Land Rover approved diagnostic equipment.
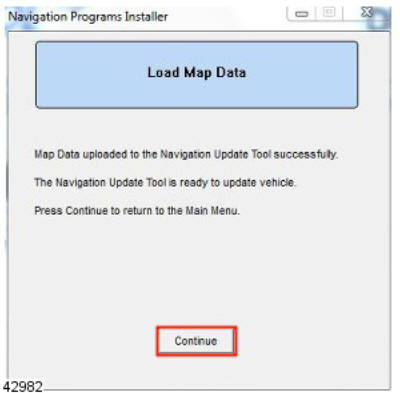
- Map data is now ready to be uploaded onto the navigation update tool, press Continue to proceed.
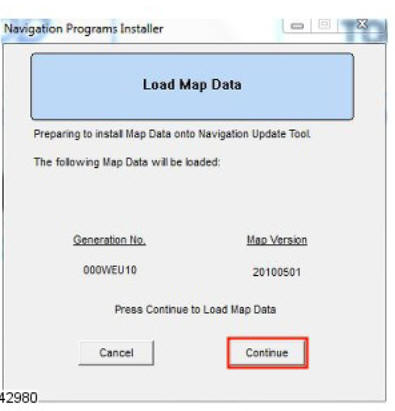
The map data will be uploaded onto the navigation update tool.
- Map data upload is now complete.
- Disconnect the navigation update tool from Jaguar/Land Rover approved diagnostic equipment.
- Connect the navigation update tool to the vehicle using the 'firewire' cable.
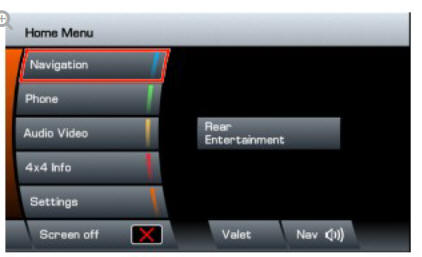
- Select Navigation using the TS display soft key.
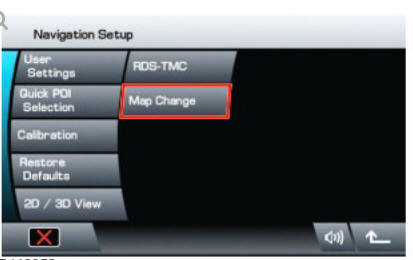
- Select Navigation Setup using the TS soft key.
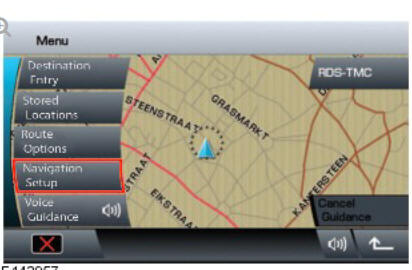
- Select Map Change using the TS.
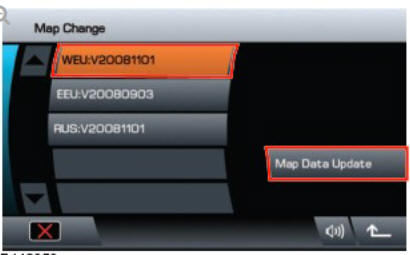
- Select map region using the TS display and select Map Data Update to proceed.
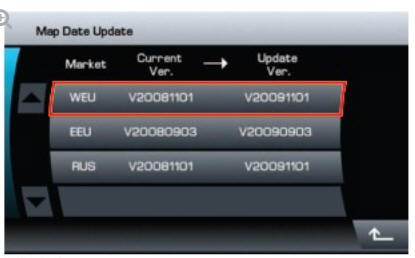
- The current map data version and the proposed update map data versions will be shown. Select the relevant region, using the related TS soft key to proceed.
- Select OK to input the licence key using the TS.
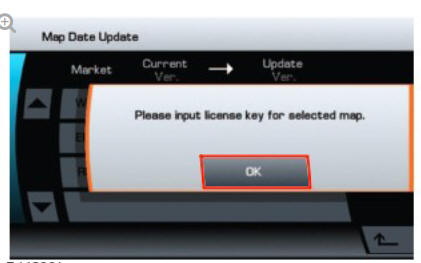
- Input the licence key using the TS display and select OK to proceed.
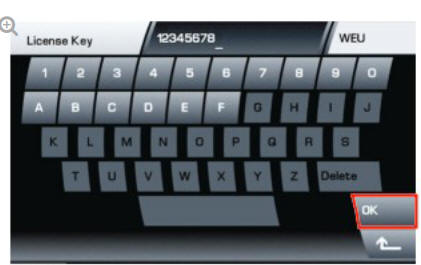
- Select OK using the TS.
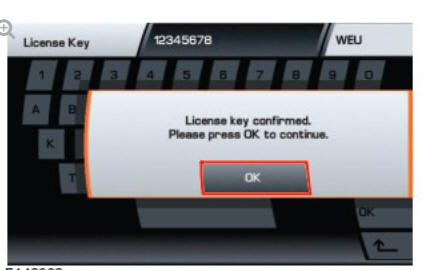
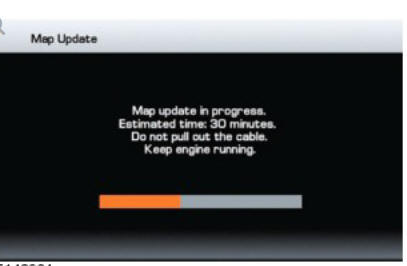
- The map update will begin.
- When the map update is complete a message will be shown in the TS, select OK to proceed using the TS soft key. The navigation system will restart with the new map data.
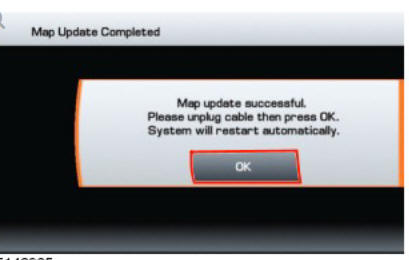
- Disconnect the navigation update tool from the vehicle.
READ NEXT:
 USB Map updates
All Gen 2.1 equipped vehicles are supplied with a USB map updates, these
updates can be performed by the customer.
The following process should be used to update the map data:
Start the engine.
N
Information and Entertainment Display (G1785534) / Removal and
Installation
REMOVAL
CAUTION:
Use a suitable trim tool.
NOTE:
Removal steps in this procedure may contain installation details.
Disconnect the battery ground cable.
Refer to: Specifications (414-01 Battery, Mount
Navigation System
COMPONENT LOCATION - INCONTROL TOUCH AUDIO SYSTEMS
FM / Traffic Message Channel (TMC) / DAB-III antenna
amplifier
Roof pod - GPS antenna
Global Positioning System (GPS) signal splitter - only
SEE MORE:
General Rules for Battery
Care
GENERAL RULES FOR BATTERY CARE
2.1 RETAILER SHOWROOM/DEMONSTRATION VEHICLES
Vehicles used as retailer demonstrator(s), in a showroom, must be
connected to a JLR approved showroom conditioner capable of delivering
50 Amps. This will prevent the battery from being damaged.
Vehicles used as retaile
Fuel Charging and Controls
- Ingenium i4 2.0l Diesel
Fuel Injector
Fuel Return
Line (G1875962) / Installation
Install the fuel injector fuel return line.
NOTE:
Remove and discard the blanking cap.
Connect the fuel pump fuel return line.
NOTE:
Remove and discard the blanking caps.
Connect the fuel rail fuel supply line.
Attach the fuel return line and connect the fuel line retaining clip.
NOTE:
R
