Land Rover Discovery: Windshield Washer Reservoir (G1780365) / Removal and Installation
Land Rover Discovery (2009–2016) Service Manual / Body / Wipers and washers / Windshield Washer Reservoir (G1780365) / Removal and Installation
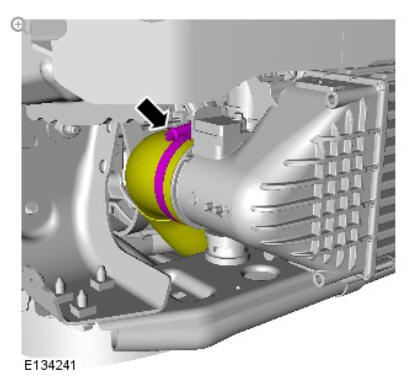
REMOVAL
WARNING:
Make sure to support the vehicle with axle stands.
Raise and support the vehicle.
Refer to: Front Bumper Cover (501-19, Removal and Installation).
Torque: 5 Nm
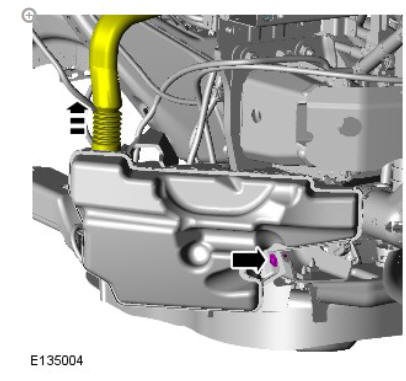
Torque: 4.1 Nm
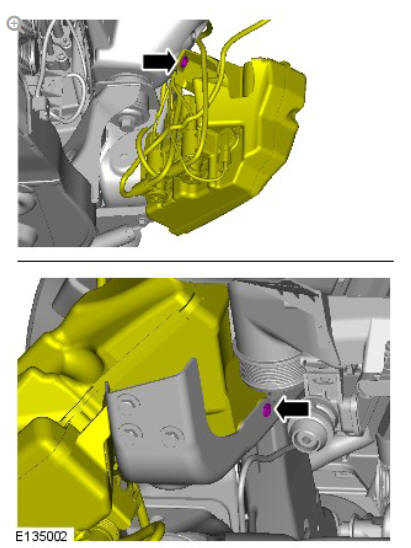
Torque: 4.1 Nm
CAUTION:
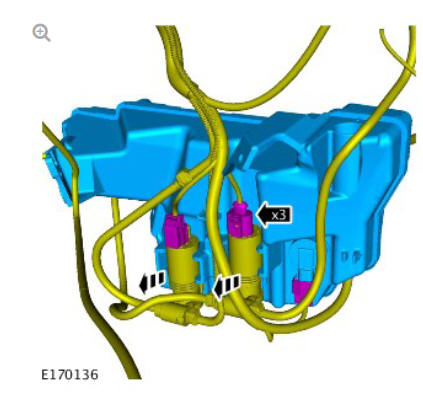
Be prepared to collect escaping fluids.
INSTALLATION
To install, reverse the removal procedure.
Windshield wiper motor (G1780358) removal and installation
REMOVAL
NOTE:
Removal steps in this procedure may contain installation details.
Refer to: Plenum Chamber (412-01, Removal and Installation).
NOTE:
LHD illustration shown, RHD is similar.
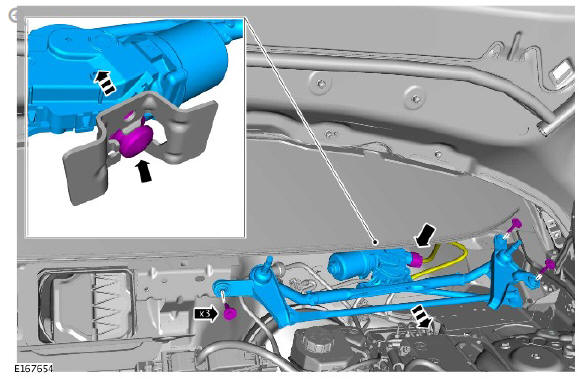
Torque: 8 Nm
INSTALLATION
To install, reverse the removal procedure.
READ NEXT:
 Wiper Pivot Arm (G1780362) / Removal and Installation
REMOVAL
NOTES:
Removal steps in this procedure may contain installation details.
LHD illustration shown, RHD is similar.
CAUTION:
Note the installed position of the component prior to
removal.
Wipers and Washers
COMPONENT LOCATION
Central Junction Box (CJB)
Rain/light sensor
Rear Junction Box (RJB)
Rear window wiper motor
Rear window washer jet
Instrument Cluster (IC)
Windshield wiper motor and link
Windshield Wiper Motor and Linkage Assembly - Description
Windshield Wiper Motor
NOTE:
Right Hand Drive (RHD) wiper assembly shown
Electrical connector
Electric windshield wiper motor
The windshield wiper motor comprises a 12V electric motor and gear w
SEE MORE:
Hidden storage compartment
There is a hidden storage compartment
underneath the front cup holder on the
centre console. To access the storage
compartment:
Press the button on the top of the front
cup holder.
Lift and remove the cup holder to reveal
the hidden storage compartment.
Replace the cup holder and gently push
dow
TAS Symbols
Symbols are used inside the graphics and in the text area to enhance the
information display. The following paragraphs describe the various types
and categories of symbols.
Prohibition symbols advise on prohibited actions to either avoid damage or
health and safety related risks.
Health and Safety
© 2019-2025 Copyright www.lrdisc.com
